Dead Pixel vs Stuck Pixel: A Visual Check
Compare suspicious screen spots on several solid colors and avoid confusing dirt with a pixel defect.
Start with a clean observation
A dark spot, a bright dot and surface dirt can look similar in ordinary content. Inspect a clean screen using several solid backgrounds. Follow the display manufacturer's cleaning guidance first and never press on the panel to diagnose a dot. A photograph of one color alone usually leaves too much ambiguity.
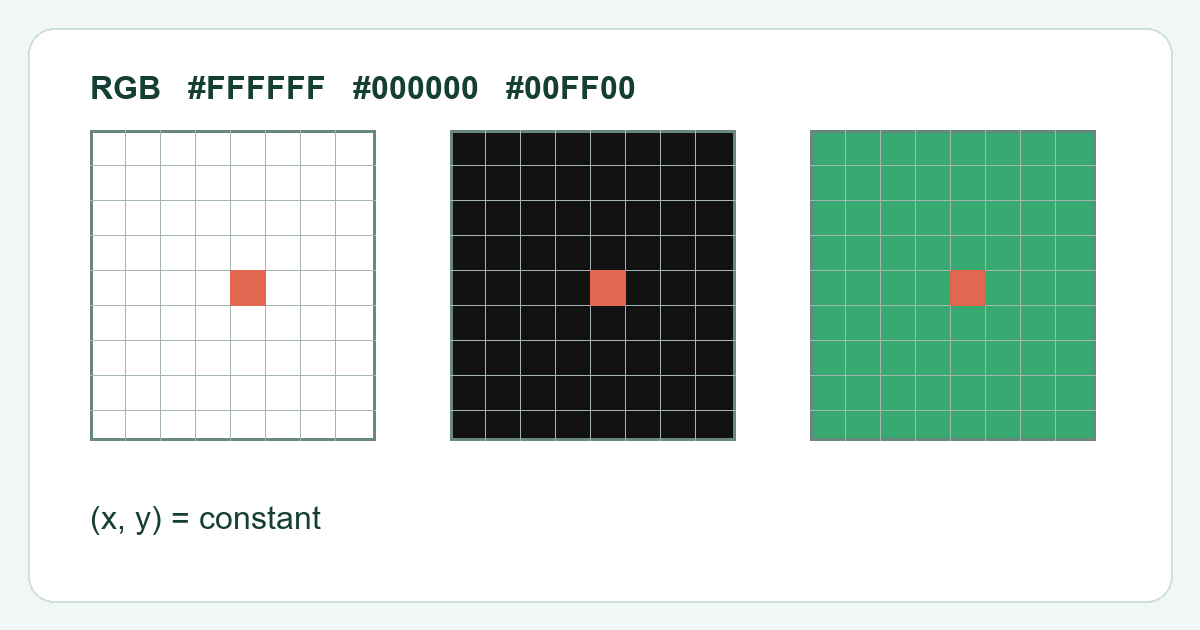
Compare several backgrounds
Open the dead pixel test in fullscreen and inspect white, black, red, green and blue. Note whether the same location stays dark, stays bright or changes with the background. A persistently dark location is consistent with a non emitting pixel or subpixel, while a fixed colored point can suggest a stuck subpixel. These are visual descriptions rather than a complete electrical diagnosis.
Exclude surface marks
Change your viewing angle slightly and inspect with the screen off under suitable light. A surface mark may be visible in both conditions. Do not use abrasives, force or a liquid applied directly to the panel. If the spot disappears after approved cleaning, it was not evidence of a failed pixel.
Document before seeking support
Photograph the same location on several colors without excessive digital zoom or exposure. Record native resolution, display model and whether the spot is visible in ordinary work. Warranty pixel policies differ by manufacturer and model. Check that policy rather than assuming every visible dot qualifies for replacement. A color test cannot repair a pixel or guarantee that a bright flashing video will fix it.