How to Photograph a Frame Skipping Test
Set up a frame skipping photograph, choose a useful exposure and separate missing steps from camera artifacts.
What the photograph records
A frame skipping pattern lights successive positions. A photograph that spans several refresh cycles can show a trail of those positions. A gap is a reason to repeat the test, not an automatic diagnosis. Camera timing, display scanning, variable refresh and browser stalls can all change the photograph. A screenshot cannot replace this check because it captures a rendered image rather than the light emitted over time.
Set up one controlled attempt
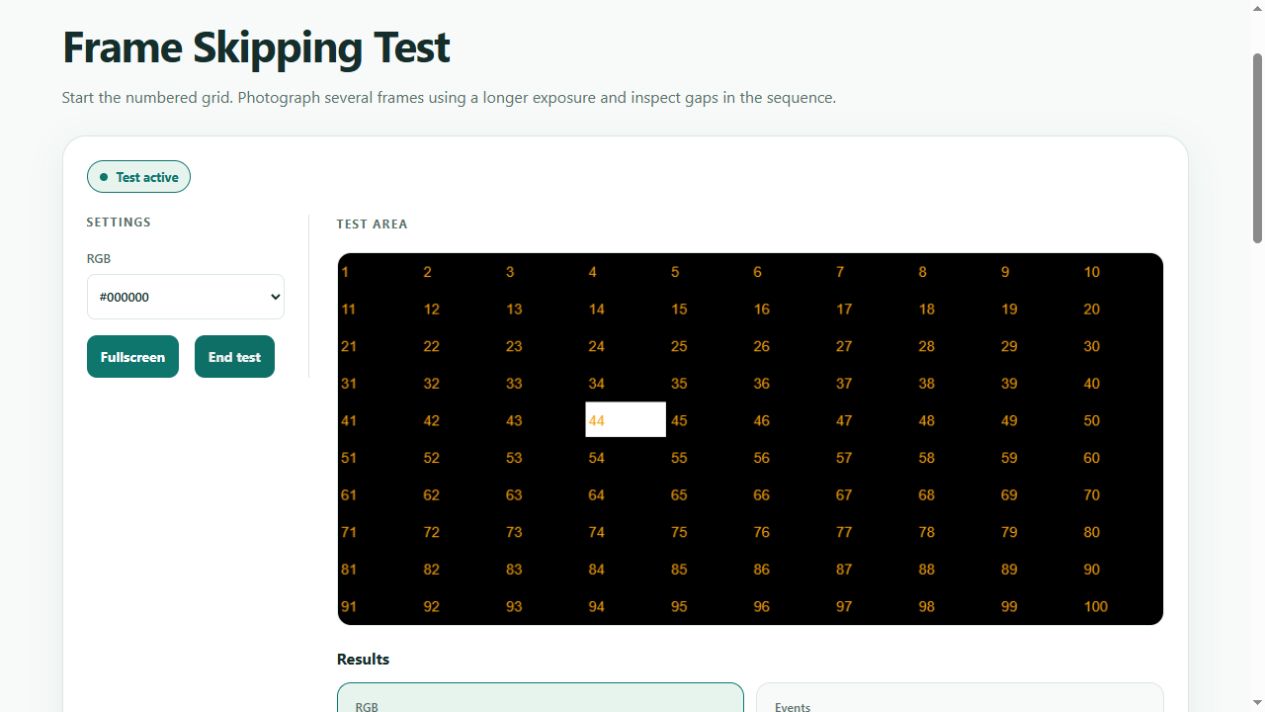
Select the refresh rate you want to check in the operating system. Keep the browser visible on that display, start the pattern and close heavy applications. Put a camera on a stable support facing the screen. Disable flash. If manual exposure is available, try about 1/10 second as a starting point, then adjust until several separate positions are visible without a completely white trail. At 60 Hz that exposure spans roughly six refresh intervals; it is an example, not a universal camera setting.
Read repeated photographs
Take several pictures with the same settings. Look for repeated gaps within an otherwise readable sequence. If the sequence is saturated, shorten exposure or reduce exposure compensation. If only one position appears, lengthen exposure. A rolling shutter can create partial shapes and bands, so compare several captures before attributing anything to the monitor.
Choose the next comparison
Repeat at another supported refresh rate and, where practical, with another cable or port while changing only one variable. Keep the photographs, refresh setting and connection details together. A clean photograph does not certify every operating mode. Persistent gaps across controlled attempts justify checking the display and graphics manufacturer guidance.